
How To Install A Tile Backsplash
5 min read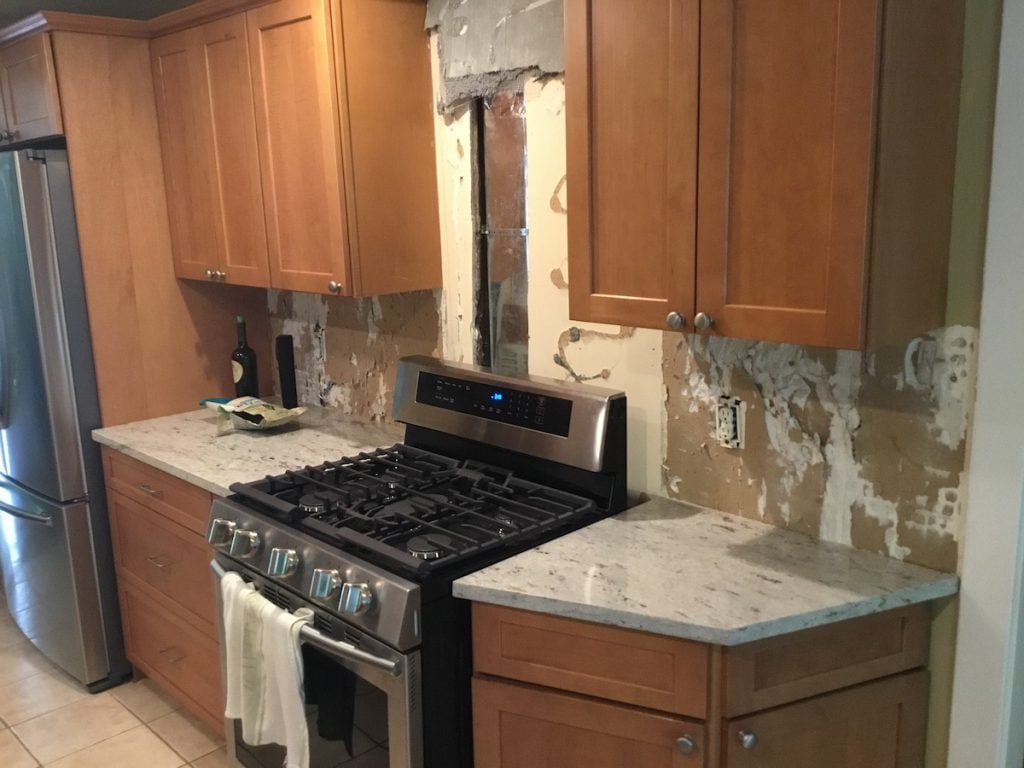
Kitchen area Backsplash Tiling
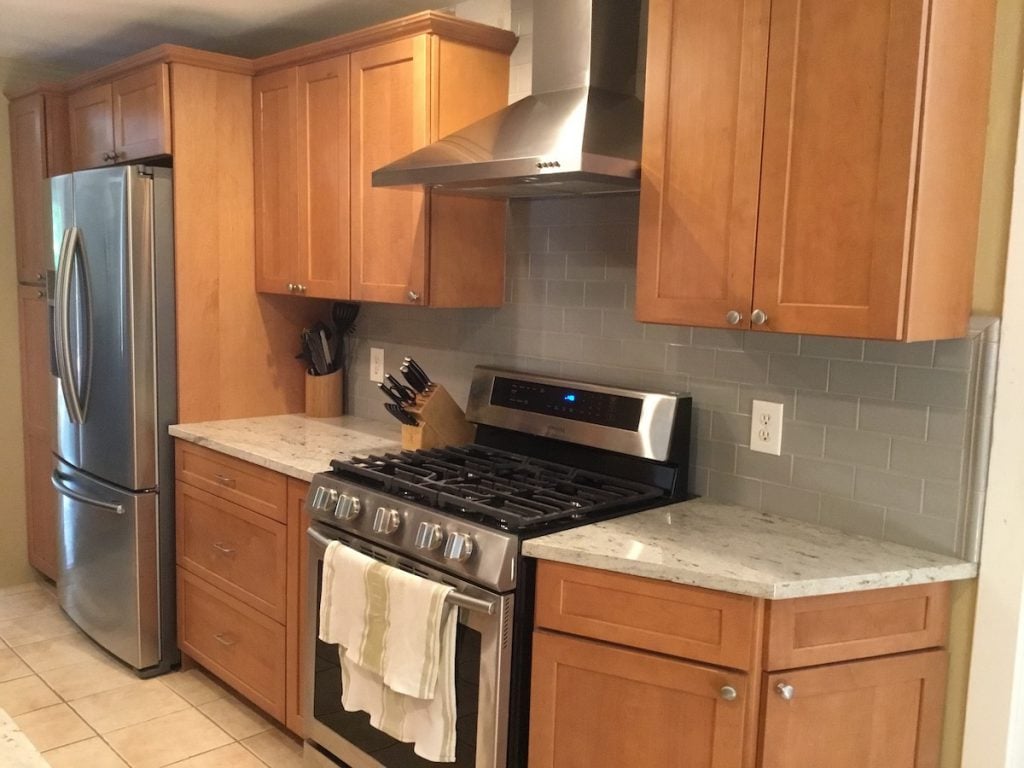
Adding a new backsplash or updating the present kitchen area backsplash is a speedy way to update the most made use of space in your house. We have set collectively a move-by-move manual to installing a kitchen tile backsplash. In addition, check out our movie demonstating the set up of a glass subway tile backsplash venture we finished in New Jersey.
How to Put in a Tile Backsplash
Measures for Setting up a Tile Backsplash
1. Gather Measurements and Products
Measure the spot involving your countertop and upper cabinetry. At the time you have calculated the square footage, be guaranteed to purchase ample tile to protect the spot as well as an additional 10%. In addition to the tiles you will require to have spacers, grout, grout sealer, mastic and caulk. Grout will come in many unique colors and can be applied as a design and style factor together with your tile.
You will also require to have a degree, a snap cutter or damp saw relying on the tile you’ve picked, a notched trowel, and a rubber float.
2. Put together the walls for tile installation
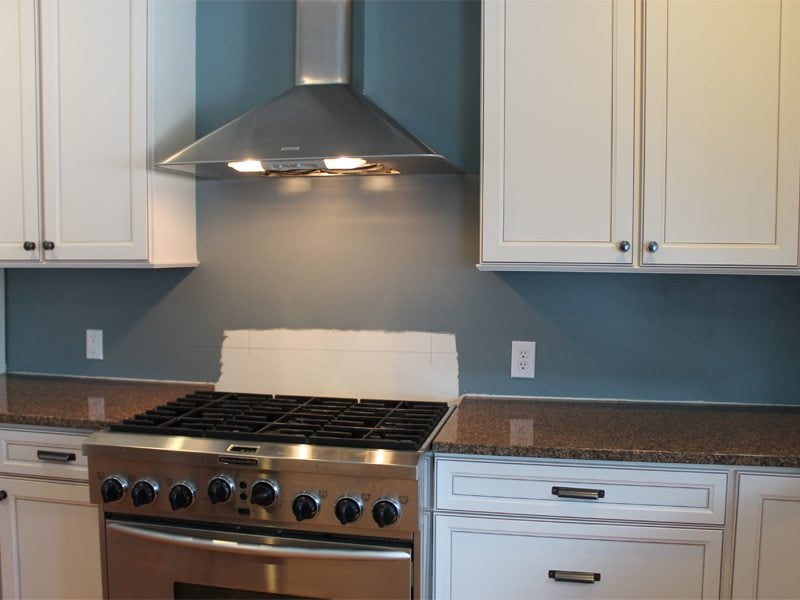
If you are changing an outdated backsplash you will will need to initial take out all the present tiles. Based on the adhesive utilized, the partitions beneath may possibly need to have to be changed. If you are adding a tile backsplash for the initial time, the course of action is a lot simpler. Merely tough up any painted surfaces with a coarse-grit sandpaper or sanding sponge. In our video clip, the installer scores the wall in excess of the stove region for even superior mastic adhesion. This is because the tile listed here will not have the support of the counter the moment it is in put. Wipe all the things clean with a moist fabric.
Down below: The partitions have been harmed after we taken off the current backsplash. We replaced the drywall before installing the new tile.
3. Structure your tile sample
Strategy specifically how your tiles will be placed ahead of creating any cuts or implementing any mastic. Format your sample on the flooring so there aren’t any surprises when you get started setting up the tile. Get started by marking the center place of each and every wall segment that will be tiled. Line up a tile with the mark, then location tiles outward in the ideal pattern. Be positive to involve spacers. Then you are going to be in a position to establish the width of the finish items.
Test that your countertop is level. Most most likely it won’t be. Depending on the pattern, you can most probably “hide” any uneveness just beneath the cabinetry. If not, you can prepare your pattern about the diverse ranges in progress.
4. Set up Your Border Tiles
If you are generating a vertical border, set up all those items initially. These tiles will most likely be bull-nosed versions of your conventional tile, or distinct edge tile pieces. Be guaranteed to construct up on prime of a spacer so you have space to caulk in between the countertop and to start with row of tile.
In our online video, we made use of a soaked noticed to slice the glass tiles. Then we smoothed the edges with a sanding stone. For ceramic or porcelain tile, a handbook snap cutter can be utilized.
To established the tile, apply the pre-mixed mastic to a portion of the wall. If you are working with the powder, you are going to first will need to mix it with h2o until eventually it is the regularity you see in the video clip. For the vertical border, you may possibly like to implement the mastic immediately to the back again of the tile.
5. Install the Remaining Tile
Use the mastic to the wall with a notched trowel. Initially, use the flat aspect of the trowel to distribute the mastic onto the wall. Then, making use of the notched facet, rake the mastic to make ridges in the adhesive. Only distribute little sections at a time.
Now, starting at the bottom with the middle mark, press the tiles gently into place. Spacers should be utilized beneath and among every single tile. Go on to do the job upward, completing an entire row at a time.
Soon after two rows of tile have been put in, evaluate and minimize corner tiles to size. Spot the slice edges going through into the corners. When you attain the top rated row, lower the tiles to fit up to and all around the cabinets.
6. Apply the Grout
Make it possible for the mastic to dry for about 24 hours. Then, wipe down your tile and take out all the spacers. If you mounted a natural stone backsplash, you may need to have to initial implement a sealer. Otherwise, implementing the grout is the upcoming stage. For the glass tile mounted in the video clip, we utilised unsanded grout. Most likely, that is what you will use as perfectly.
Mix your grout with drinking water applying a drill attachment on low pace. Blend in small batches to protect against the grout from drying out. Use the grout liberally at a 45 diploma angle making use of your rubber float. See the online video for tecnique on how to implement.
Right after allowing the grout to set for 10 minutes, wipe off the surplus applying a cleanse, moist sponge. As soon as the grout has dried wholly, cleanse off the encounter of the tiles with drinking water or cleaner. A grout sealant can then be applied in a several times.
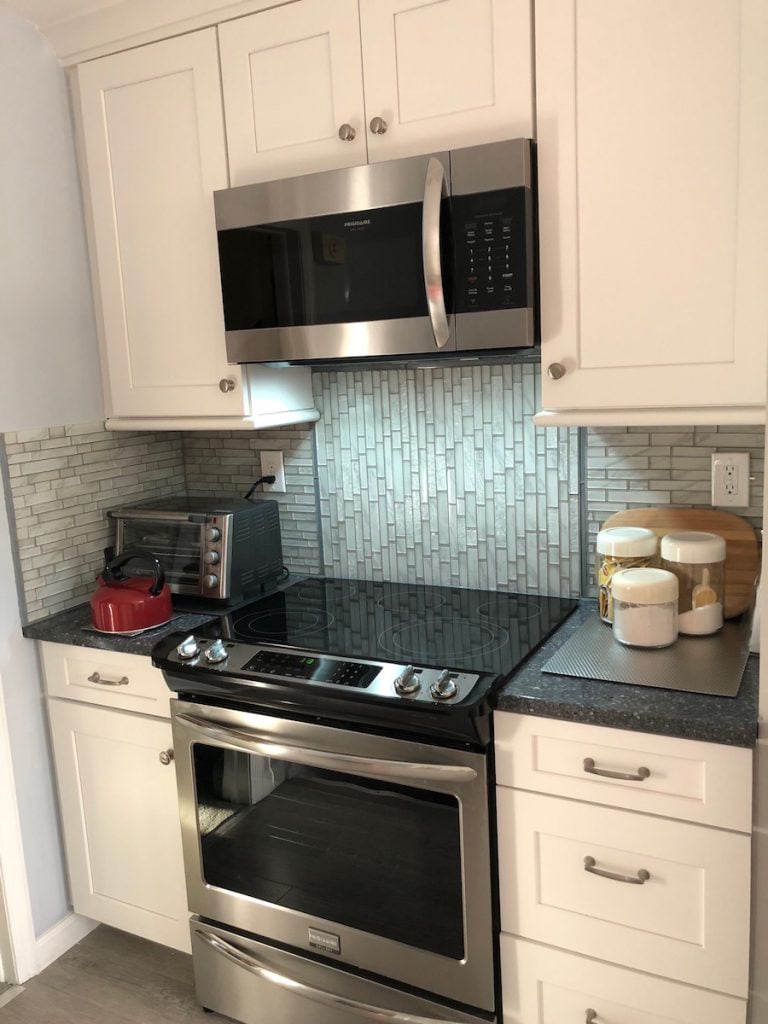
When the outlet handles have been re-put in, the work is full!
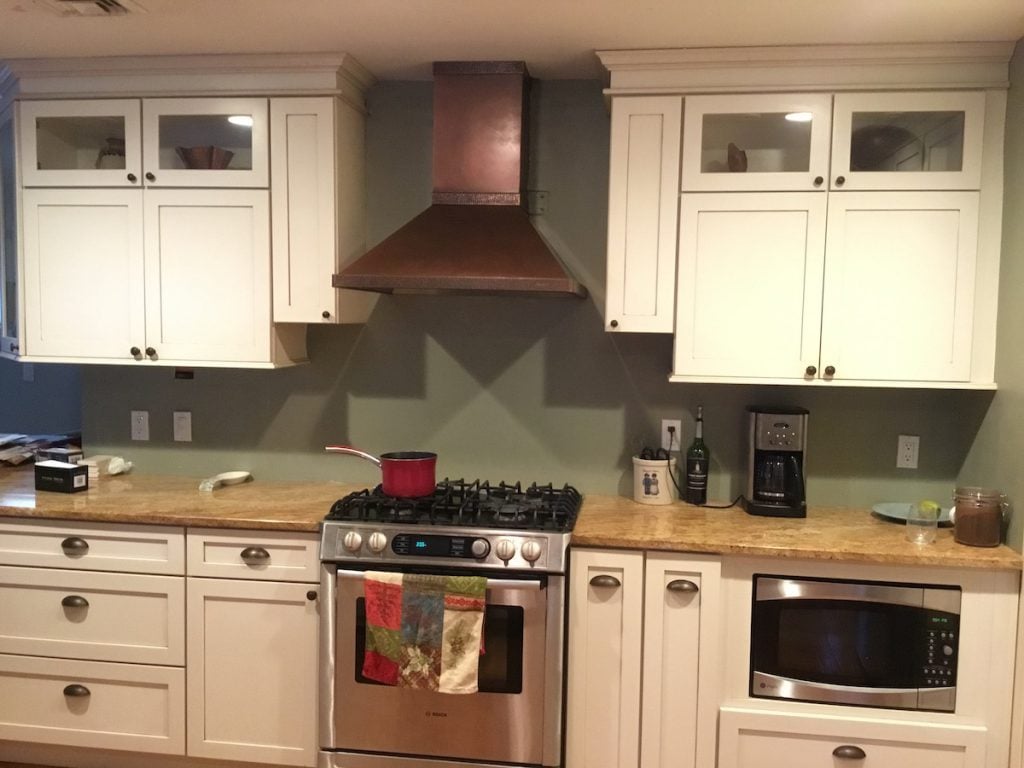
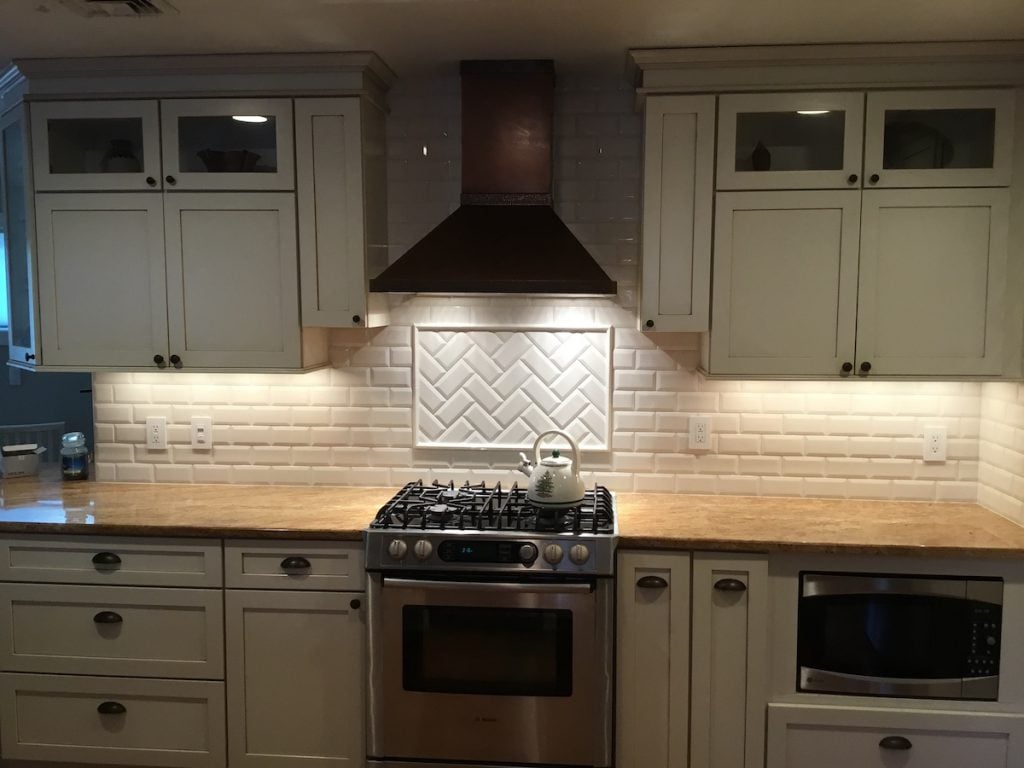
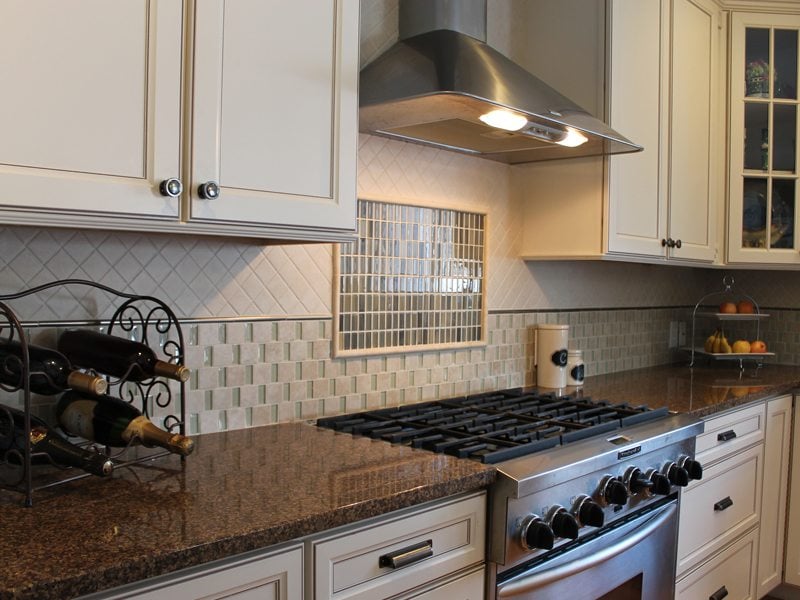
Other Kitchen area Backsplash Tasks
Tile Installation by Monk’s
Read additional about Monk’s and our tile set up approach. Did you know that we have showrooms full of tile for any kitchen area, toilet, or flooring project? As well as, our structure teams will enable you pick tile combos and produce lovely patterns. To see a lot more of our tile design and set up perform, check out our tile gallery or bathroom gallery.


.jpg "5 Compelling Reasons Why You Need Kitchen Remodel")