
How to Make Paper Snowflakes
2 min read
We’re often seeking for Diy crafts to share in the course of this cheerful time. From exhibiting you how to make a bow as a current or decoration to how to Diy a Christmas stocking to disguise your tiny (and delicious) treats. This time, you can discover how to make a snowflake in two distinctive approaches.
Paper snowflakes make great craft tips for kids (and exceptional home decorations if you are looking for a wintery sense). You can glue them to your windows, cling them on your walls and even flip them into a snowflake wreath for all of your company to admire. Adhere to our uncomplicated methods for guidance on how to make regular and 3D paper snowflakes. You can also enjoy our video higher than for step-by-phase visuals.
How to Make a Classic Paper Snowflake
Products:

Directions:
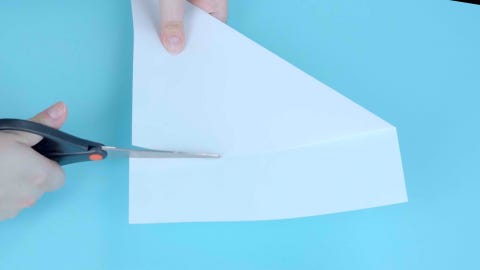
- Get to folding: Fold your paper diagonally.

- Snip snip: Reduce off the excessive paper at the base.
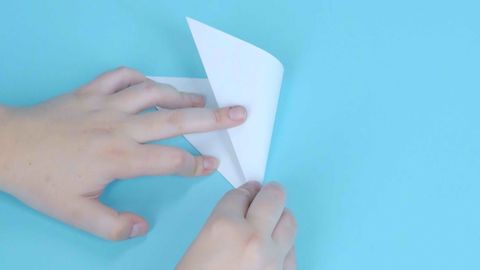
- Fold your paper in half.

- Fold the paper in thirds.
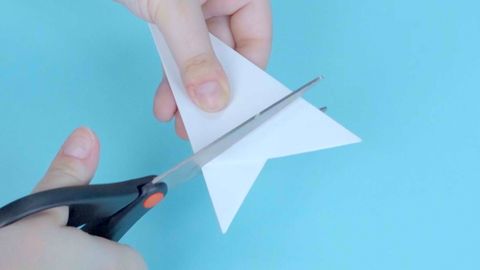
- Flatten out the prime of your paper by cutting off factors.
- Get creative: Draw your possess sample for your snowflake.
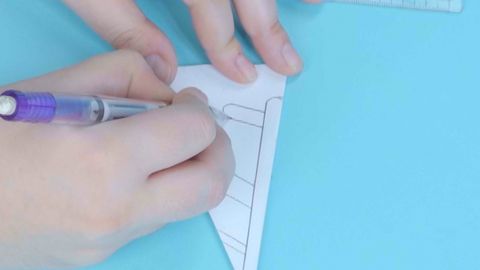
- Mark all of the vacant areas you did not attract on with an x.
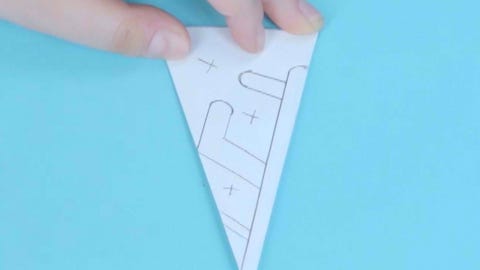
- Reveal your sample: Slice out the marked sections and unfold to reveal your snowflake.


Tip: Use a minimal location to lightly iron your paper snowflakes to easy out any creases.
How to Make 3D Paper Snowflakes

Materials:
Guidance:
- Fold your paper diagonally.
- Reduce off the excessive paper at the base.
- Fold the paper in 50 percent.
- Reduce three diagonal traces along the non-folded edge of your paper.
- Unfold your paper right after trimming.
- Tape your center flaps alongside one another.
- Flip and tape all of the flaps to the middle of your snowflake.
- Repeat all of the preceding methods for the other 5 items of paper.
- Mix all six of the papers together at the center place and use your stapler to hold them in area.
- Staple each individual section together employing your stapler.
This content is developed and maintained by a 3rd celebration, and imported on to this website page to support buyers offer their email addresses. You might be able to uncover more information and facts about this and related content at piano.io


.jpg "5 Compelling Reasons Why You Need Kitchen Remodel")