
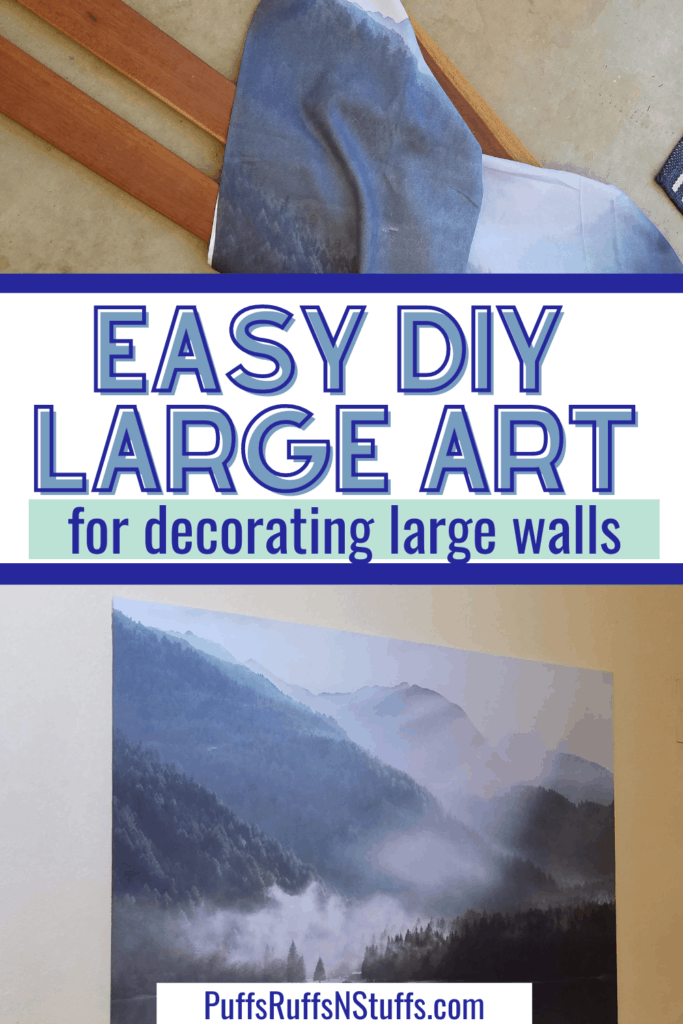
DIY Large Wall Art – Puffs Ruffs N’ Stuffs
9 min read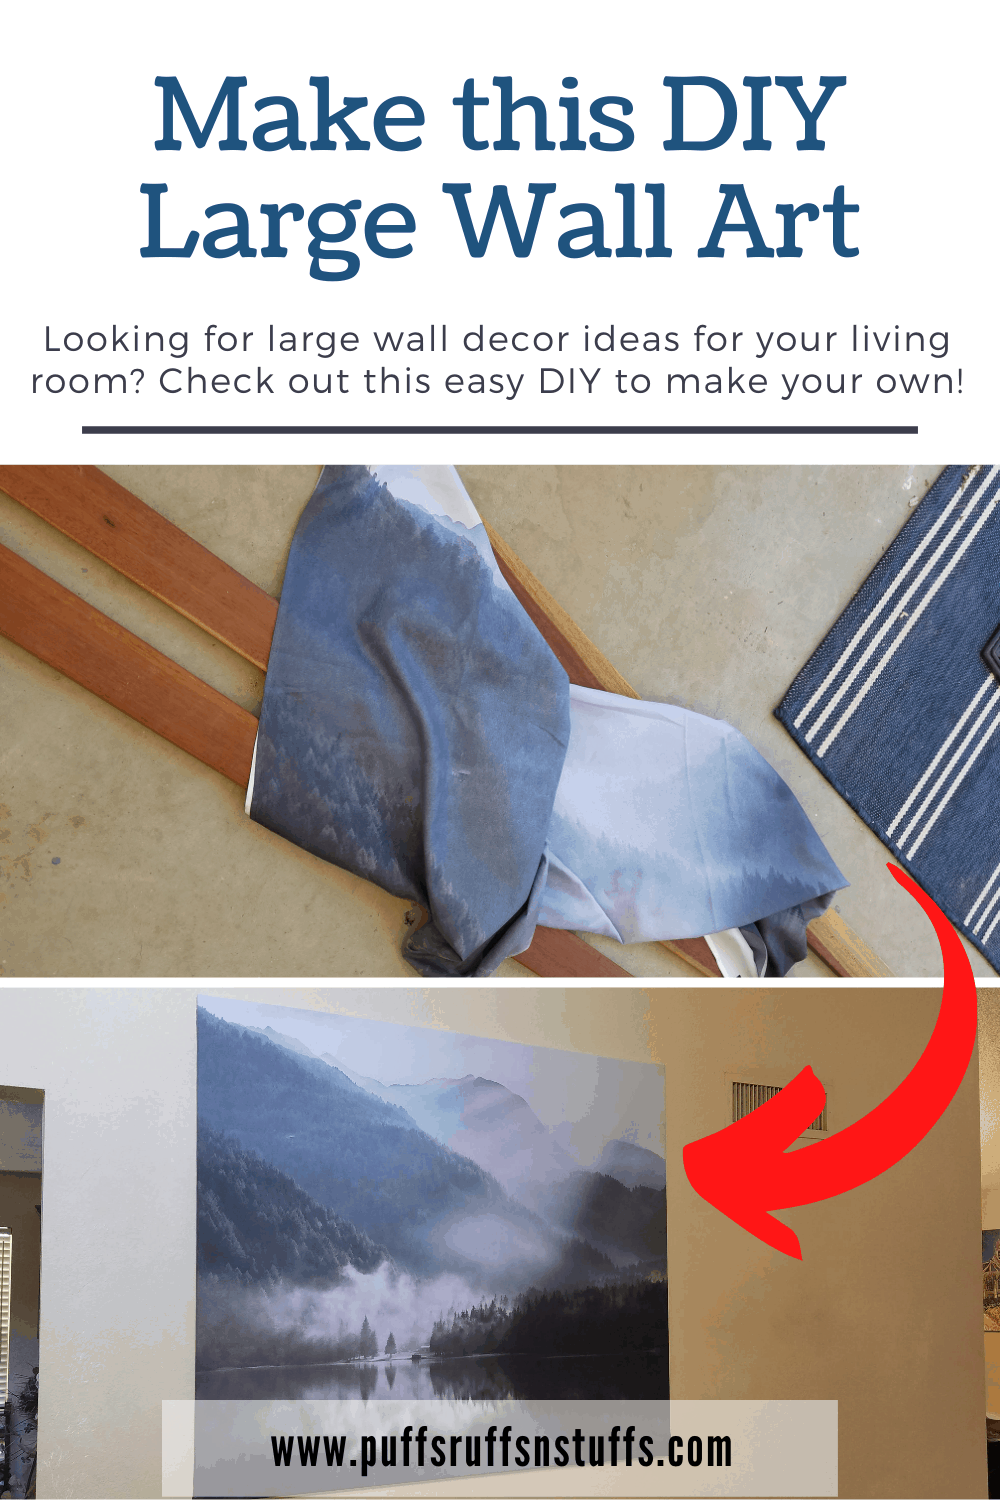
Looking for a DIY large wall art project to add some color to your life? Maybe you have a large wall in your house that is screaming to be decorated. Cheap large wall art pieces are not a thing – unless you DIY! This DIY large wall art project will get you the look of a large art canvas. Even if you have no artistic talent, this project looks great. Check it out!

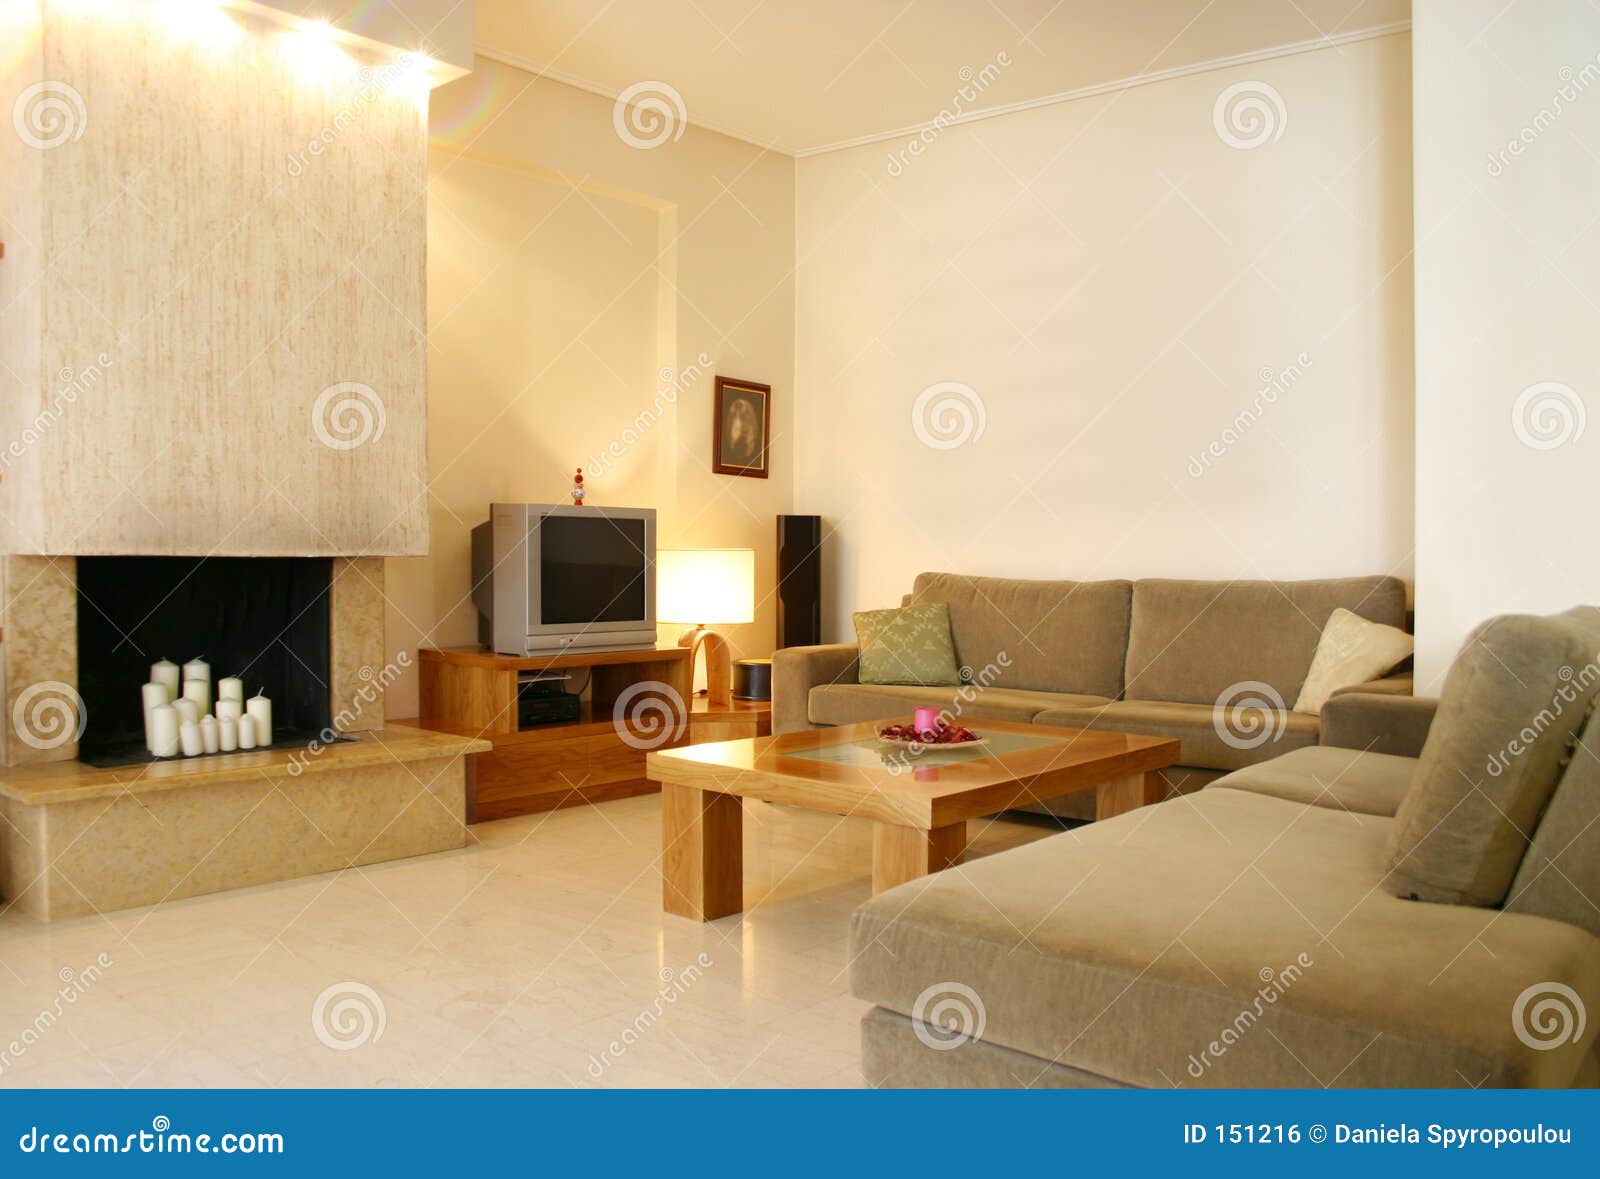
Where can I find decently priced large wall art?
Having large wall art on large walls is one of many great decorating ideas. But let’s face it, large wall art can be very expensive. Finding large wall art on a budget is hard. Finding cheap wall art that doesn’t look cheap is even harder. The best way to find decently priced large wall art is to make DIY wall art! Often, making art for your walls is an easy DIY that you can do yourself. If you have no artistic talent and no desire for abstract art on your living room walls, you can turn to a DIY wall art project like this one to let you have large wall art on your walls for a decent price.
This project can use any style of art that you want. It allows you take an existing piece of art that is printed on a fabric, and turn it into a hung piece that looks like a large wall painting. All without having to make a DIY large wall painting!
Supplies for DIY Large Wall Art
- A wall tapestry or fabric shower curtain.
- A piece of canvas drop cloth like this (make sure it’s the same size or larger than your decorator fabric)
- 1 x 3 wood slats that are at least 4″ smaller than your fabric
- A drill
- Pocket hole kit
- Pocket hole screws x 8
- Scissors
- Measuring tape
- Marking tool (pencil)
- Wood glue
- Speed square
- Staple gun with staples
- Wire picture hanging kit like this one
Steps to make DIY Large Wall Art
Plan and Measure
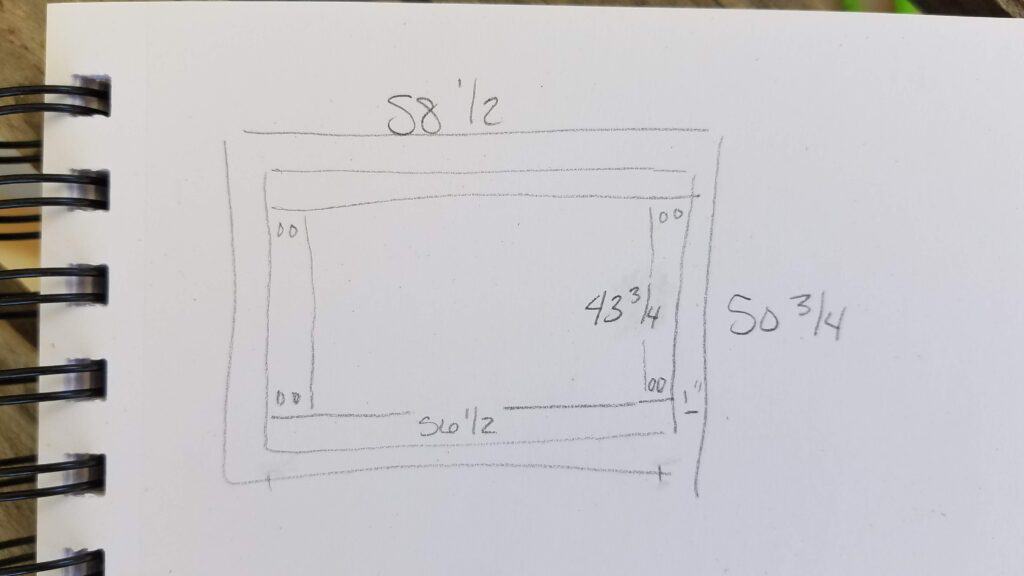
Measure your fabric. It may say it’s five foot, but you want to be sure about this. Start with your decorator fabric – your wall tapestry or your shower curtain. You want to measure each side of the fabric, and write these numbers down.
Once you’ve measured your decorator fabric, do the same with your canvas drop cloth. You want to make sure that your drop cloth is at least the same size as your decor fabric. If it’s smaller, that means that your final art piece needs to be smaller too. Many wall tapestries and shower curtains are made of thin material. This canvas drop cloth is going to be stretched out across the frame of the DIY large wall art piece to provide support. It needs to be able to cover the frame.
While you are measuring, measure your wall space. You want to make sure that you have enough space in your room for your piece of art to hang. It would be terrible to go through all the work to make a diy large scale art piece and not have enough room to hang it.
Cut your wood
You will be making a square frame with your wood. This frame will be covered with your fabric, wrapping around to the back to secure it. Pick out two of your wood pieces for the top and bottom of the frame, and two for the sides. Your two top pieces need to be 5″ smaller than the smallest of the top and bottom measurements from your decor fabric. This will give you enough fabric to wrap around the frame and secure to the back. Your side pieces need to be 10″ smaller than the smallest of the two side measurements of your decor fabric.
Top wood pieces = smallest of decorator fabric measurements for top / bottom – 5″
Side wood pieces = smallest of decorator fabric measurements for each side – 10″
For my DIY large wall art piece, my tapestry was 58.5″ x 50.75″. So the measurements I used for my wood pieces were 56.5″ for the two top pieces, and 43.75″ for the two side pieces. I really should have followed my own advice here and used measurements of 53.5″ and 40.75″. Learn from my mistake, subtract 5″ and 10″.
Add pocket holes to wood
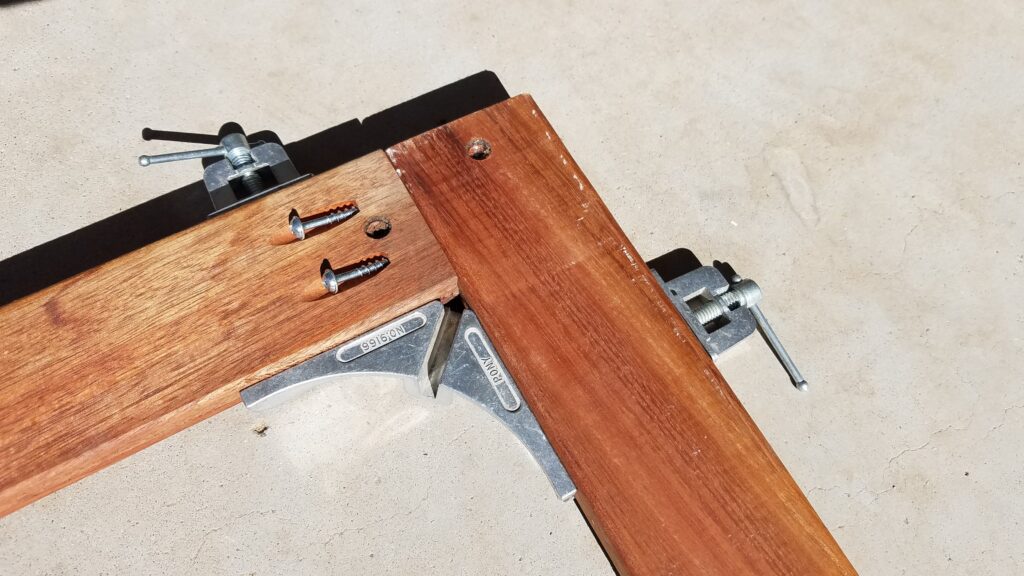
Add two pocket holes to each end of the side pieces of wood. Make sure that you set the pocket hole depth appropriately for your wood pieces. Use some scrap wood to test before drilling your pocket holes if needed.
Screw wood together
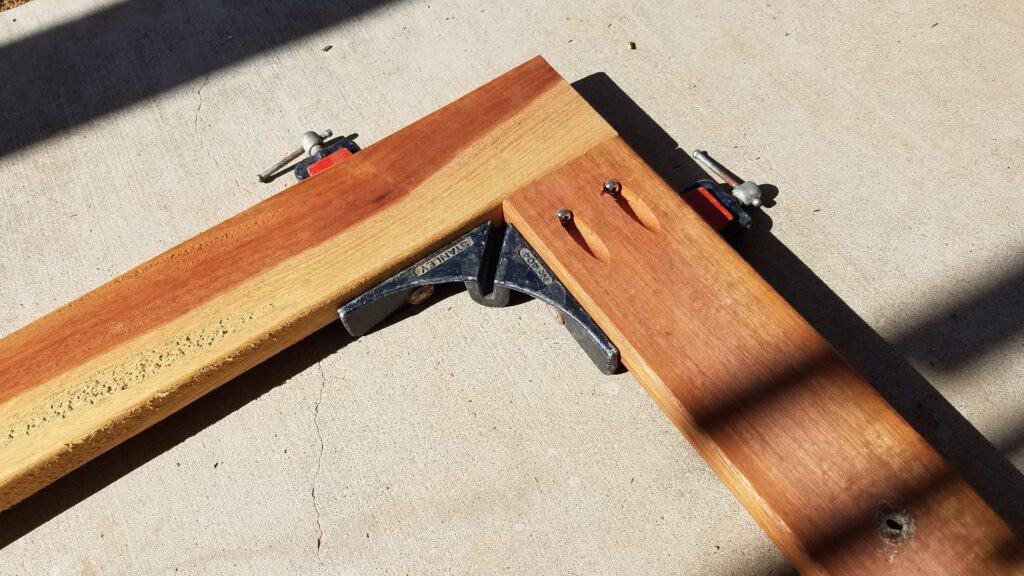
Screw your side pieces of wood to the tops and bottoms of your frame. Add a bit of glue in each join to help make it more stable. While you are screwing your wood together, make sure to check the corners for square. This shape is going to be the shape of your art piece, and you want it to be squared up. Keep your pocket holes on one side of your wood frame. This side with the pocket holes in it is going to be the back of the wall decor piece.
Adjust the canvas size if needed
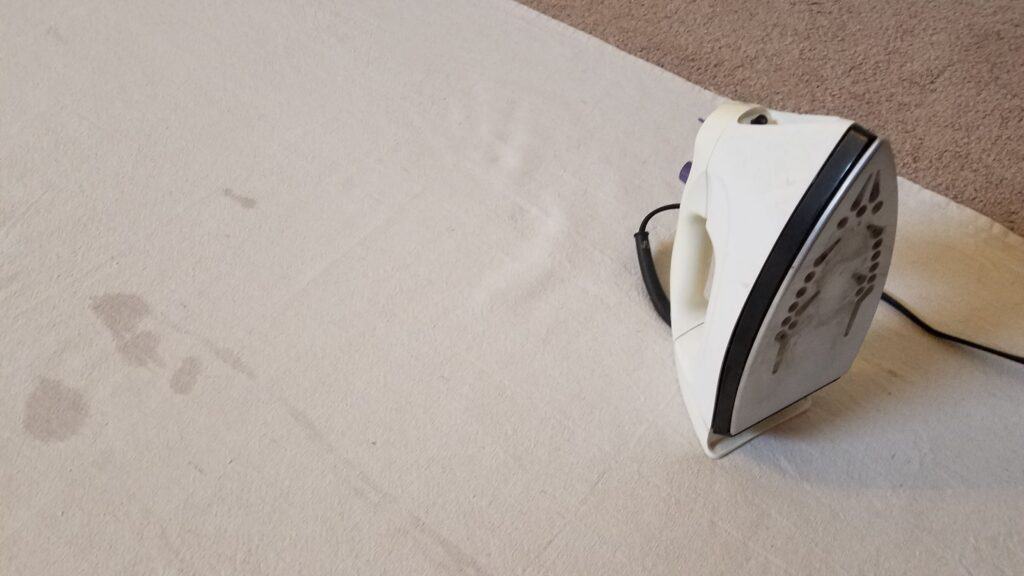
If your decor fabric is heavy enough to take some stretching and not tear or distort, you can skip the next two steps. Most wall hanging or shower curtain fabrics are rather light weight and will not be able to take stretching and being stapled without tearing. For light to medium weight fabrics, I recommend adding the canvas drop cloth to the frame “just in case”. It would be terrible to go to all the work of making this and have your decor fabric tear.
After your wood is made into a frame, you are going to start working on the canvas drop cloth. My canvas was quite large compared to my wood frame. This is ok! If your canvas is overly large compared to your frame, you will want to cut the canvas down. Measure the canvas to match the size to your decor fabric. Again, since the canvas is going under the decor fabric to add stability, you want it the same size as the decor fabric. You also want it at least 5″ larger than your frame dimensions. This will give you enough canvas to wrap around the frame and attach at the back.
Measure and cut your canvas drop cloth to size.
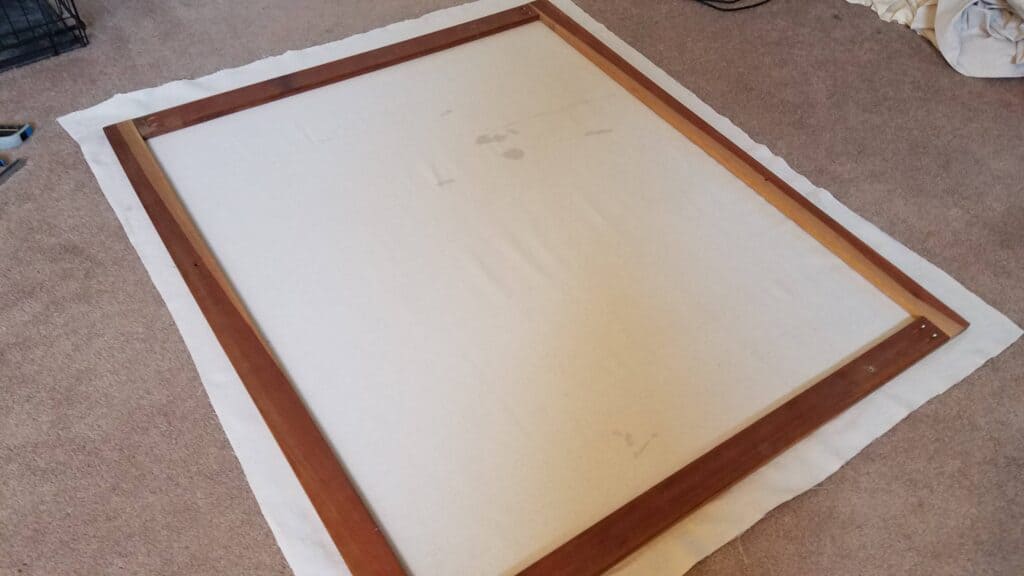
Cover wood with canvas
Next up, cover your wood with the canvas. Set your canvas on the ground, all smoothed out. Place your wood frame on top of it, 2.5″ from the edges all the way around.
Now, something to keep in mind as you start stapling your canvas down is that it is going to stretch. It will especially want to stretch on the diagonal (from corner to corner). You want to encourage the top and bottom / side to side stretching while avoiding the diagonal stretching. You will want to make sure that your canvas is tight as you attach it to the frame. This will make your finished DIY large wall art piece look more professional. So, keep that fabric taut!
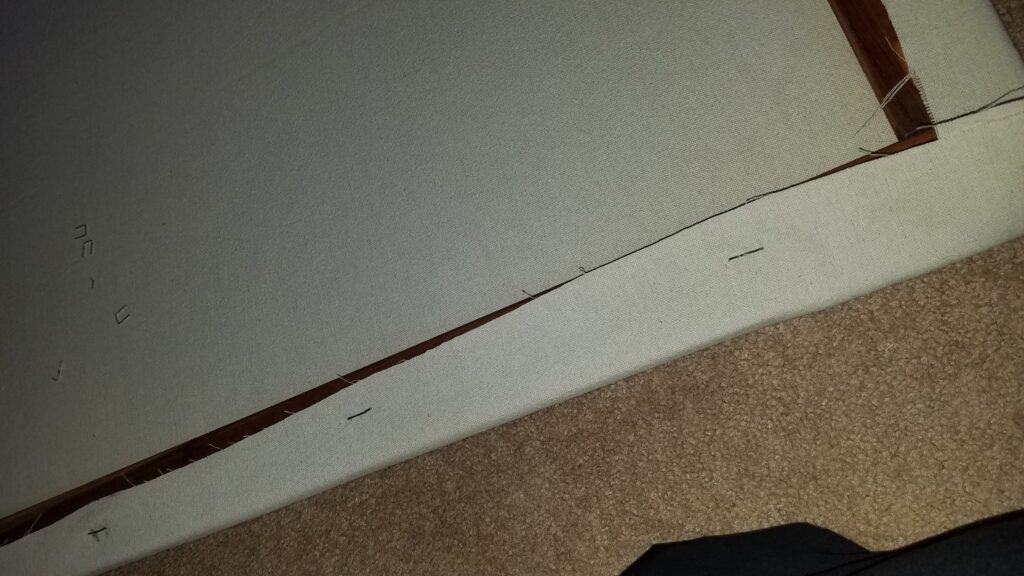
Wrap your canvas around the edges of the wood frame, until the canvas is folded to the back. Staple the top center of the canvas fabric to the back of the wood frame. Do the same across the top of the piece, making sure to stretch the fabric out along the length of the top. Use plenty of staples here for a nice firm hold. My staples are about every 4″ – 6″.
Once the top of the fabric is attached to your frame, you need to start attaching the bottom. Again, start with the center of the bottom folding the fabric over to the back of the wood piece and stapling it. Make sure you are pulling the fabric straight down, and tight against the frame. You don’t want to pull so tightly that the wood starts to crack or warp though. So keep an eye out for your wood flexing. Again, use lots of staples for a nice firm hold.
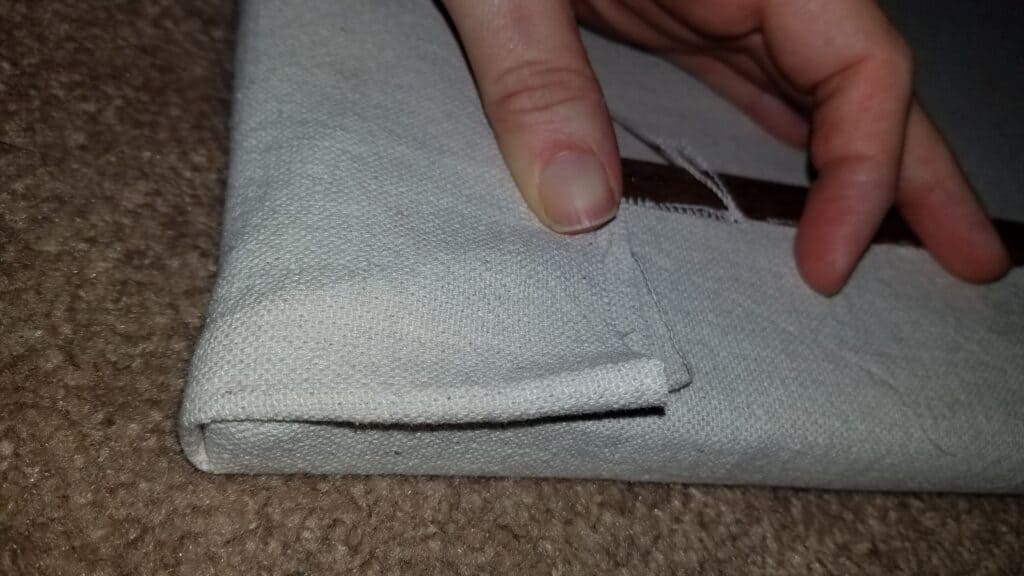
Once the top and bottoms are done, you are almost there. The sides are a lot easier once you have the top and bottom attached. Again, starting at the center of the sides, wrap the fabric around to the back, pull taut and staple to secure. As you work your way up and down the sides adjust how taut you are pulling the fabric so that it smoothly transitions. Again, you want the fabric taut but you want to avoid having wrinkles or distortions in the fabric.
Cover wood with art
Once your wood is covered with the canvas drop cloth, it start to look much more like an art piece. Next up, you will be covering your fresh new art canvas with your decor fabric. Follow the same process as above when you added the canvas to the frame. The difference here is that you will not be pulling the fabric tight against the frame. You want to make sure that the fabric lays smoothly across the canvas and frame, but you do not want to strain the fabric to pull it tight. So while you are stapling the decor fabric to the art frame, make sure that the fabric lays smooth.
Staple your art fabric just the same as the painter’s canvas.
Add wire hanging kit
An optional step to your DIY large wall art project is to add a wire hanging kit. My wood was slightly rounded and I was able to hang it perfectly using two screws that were long enough to take advantage of the rounding. If your wood is square, then I recommend adding on a wire hanging kit to your frame. It will help make sure that the wall art stays mounted to the wall where you put it.
Add one of each of the D rings to each side of your wall art piece. Make sure that these are set the same distance from the top of the piece. Usually, 1/4 of the way down from the top is perfect. These should be pointing upwards to the top of your art piece at about a 45 degree angle.
Once you have the two D rings attached, you will be running wire between them. This wire is what the picture will be hanging from. The Spruce Crafts has a great tutorial on how to attach picture wire here.
Hang and enjoy!
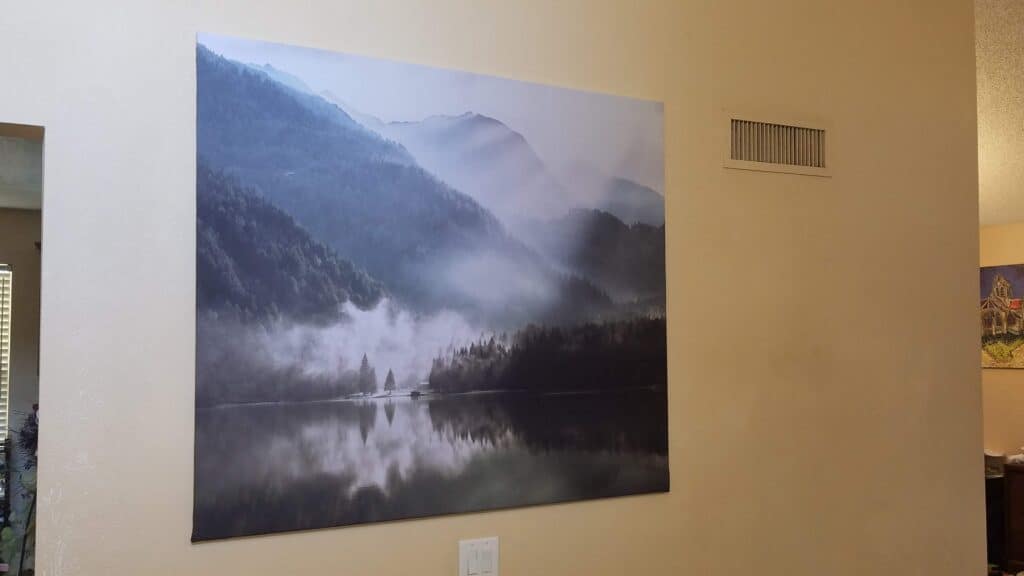
The last and most important step in making your DIY large wall art project is to hang it and enjoy!
In Summary
Making a DIY large wall decor piece like this is relatively inexpensive, and an easy project that can be completed in a day. I found the hardest part about this project was picking a tapestry that I wanted converted into DIY large canvas art to display on my wall. If you are looking for some large scale art ideas that you can hang on your walls, then you should seriously consider turning a wall hanging or shower curtain into a mounted piece of art like this. This is one of the DIY ideas that I wish I had done sooner. Learn from my mistake!


.jpg "5 Compelling Reasons Why You Need Kitchen Remodel")